
Set up two-factor codes
Schuly can hold your two-factor secrets and generate the six-digit codes itself, so you do not need a separate authenticator app. This page walks through adding one, using a Microsoft school account as the example.
Screenshots are from a German account
Microsoft shows this flow in whatever language your account is set to, and the screenshots below happen to be from a German one. The German labels are called out in the text with their English translation alongside, so look for the option in that position regardless of the language your own screen shows.
You need a second screen
The QR code appears on one screen and has to be scanned by the phone running Schuly. So do this at a laptop or desktop, or on a second device - a phone cannot photograph its own display. If you only have the one phone, use the setup key instead: every service that shows a QR code also offers the key as text, and Schuly accepts it under enter manually.
Two different things called 2FA
Worth getting straight before you start, because they look similar in the app:
| Where | What it is for |
|---|---|
| Authenticator screen | Codes you read and type somewhere else, such as signing in to Microsoft. |
| 2FA secret row on a school connect form | A secret Schuly keeps so it can generate the code itself while syncing in the background. You never read this one. |
This page is about the first one.
1. Open your account's security settings
For a school Microsoft account, go to myaccount.microsoft.com and sign in.
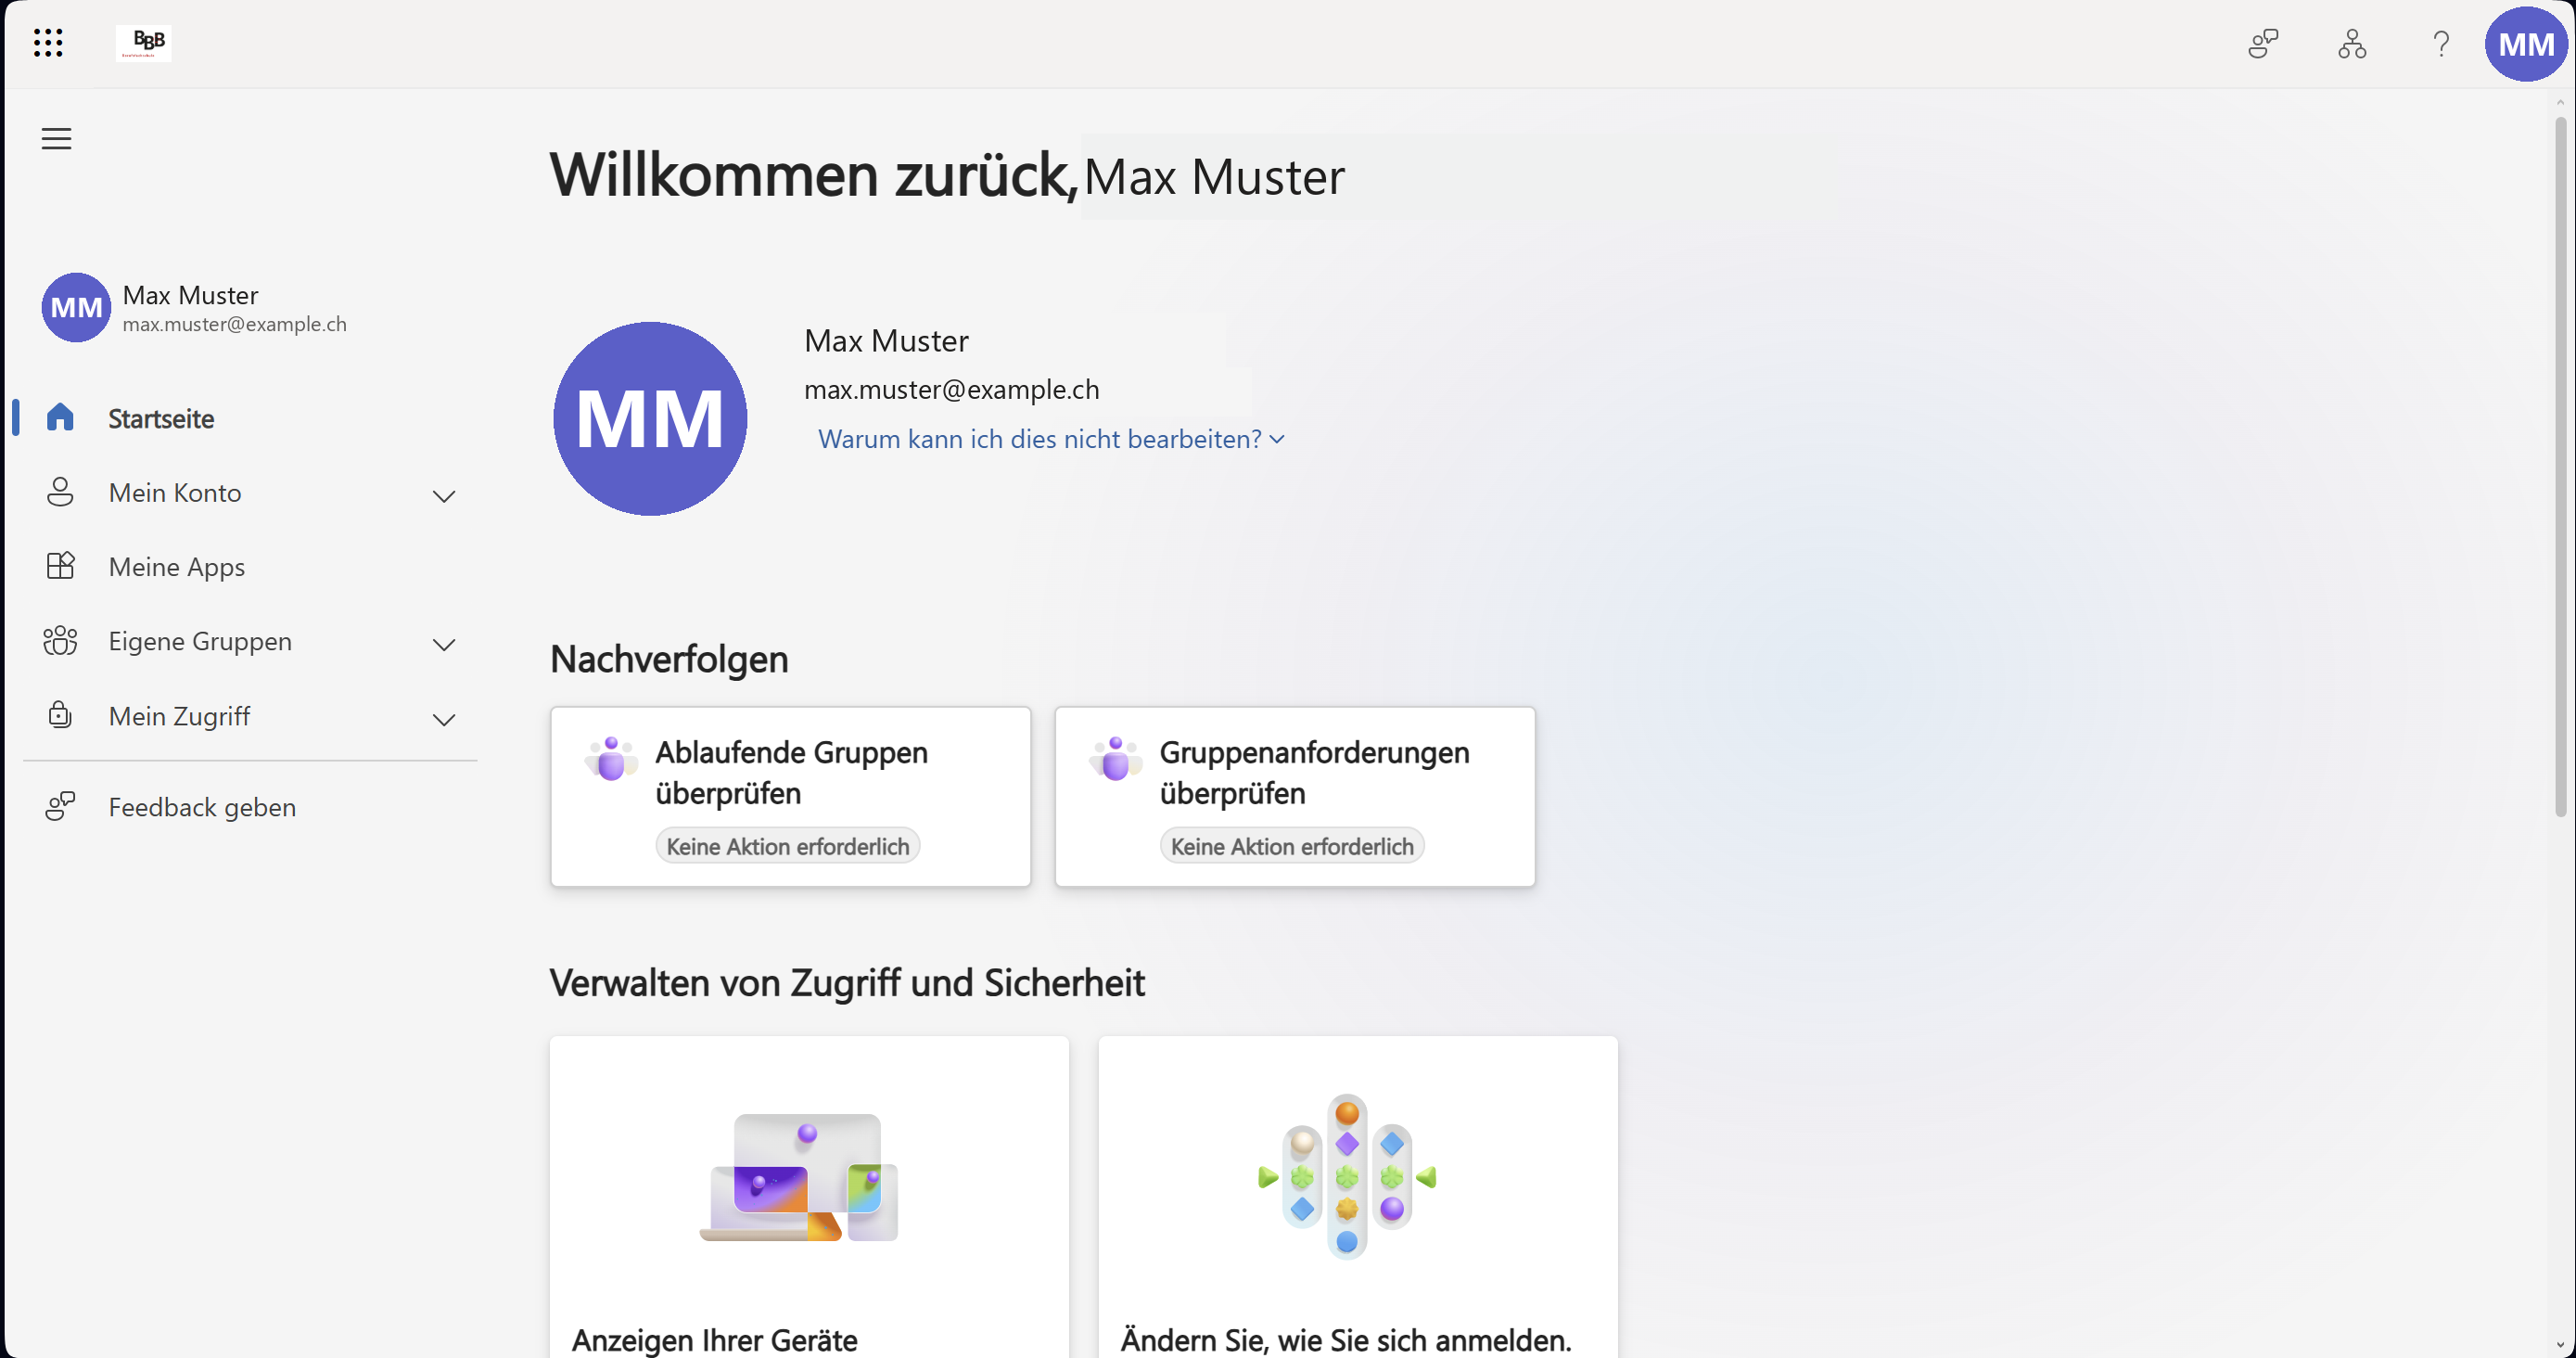
Open Mein Konto ("My account") in the sidebar, then Sicherheitsinformationen ("Security info").
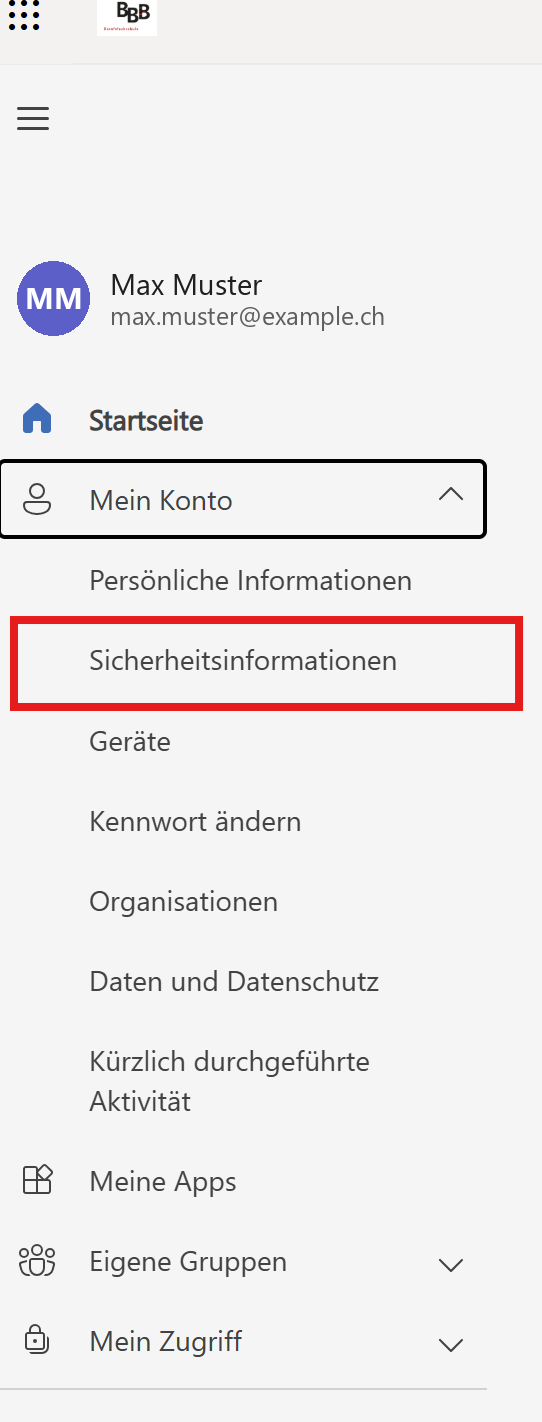
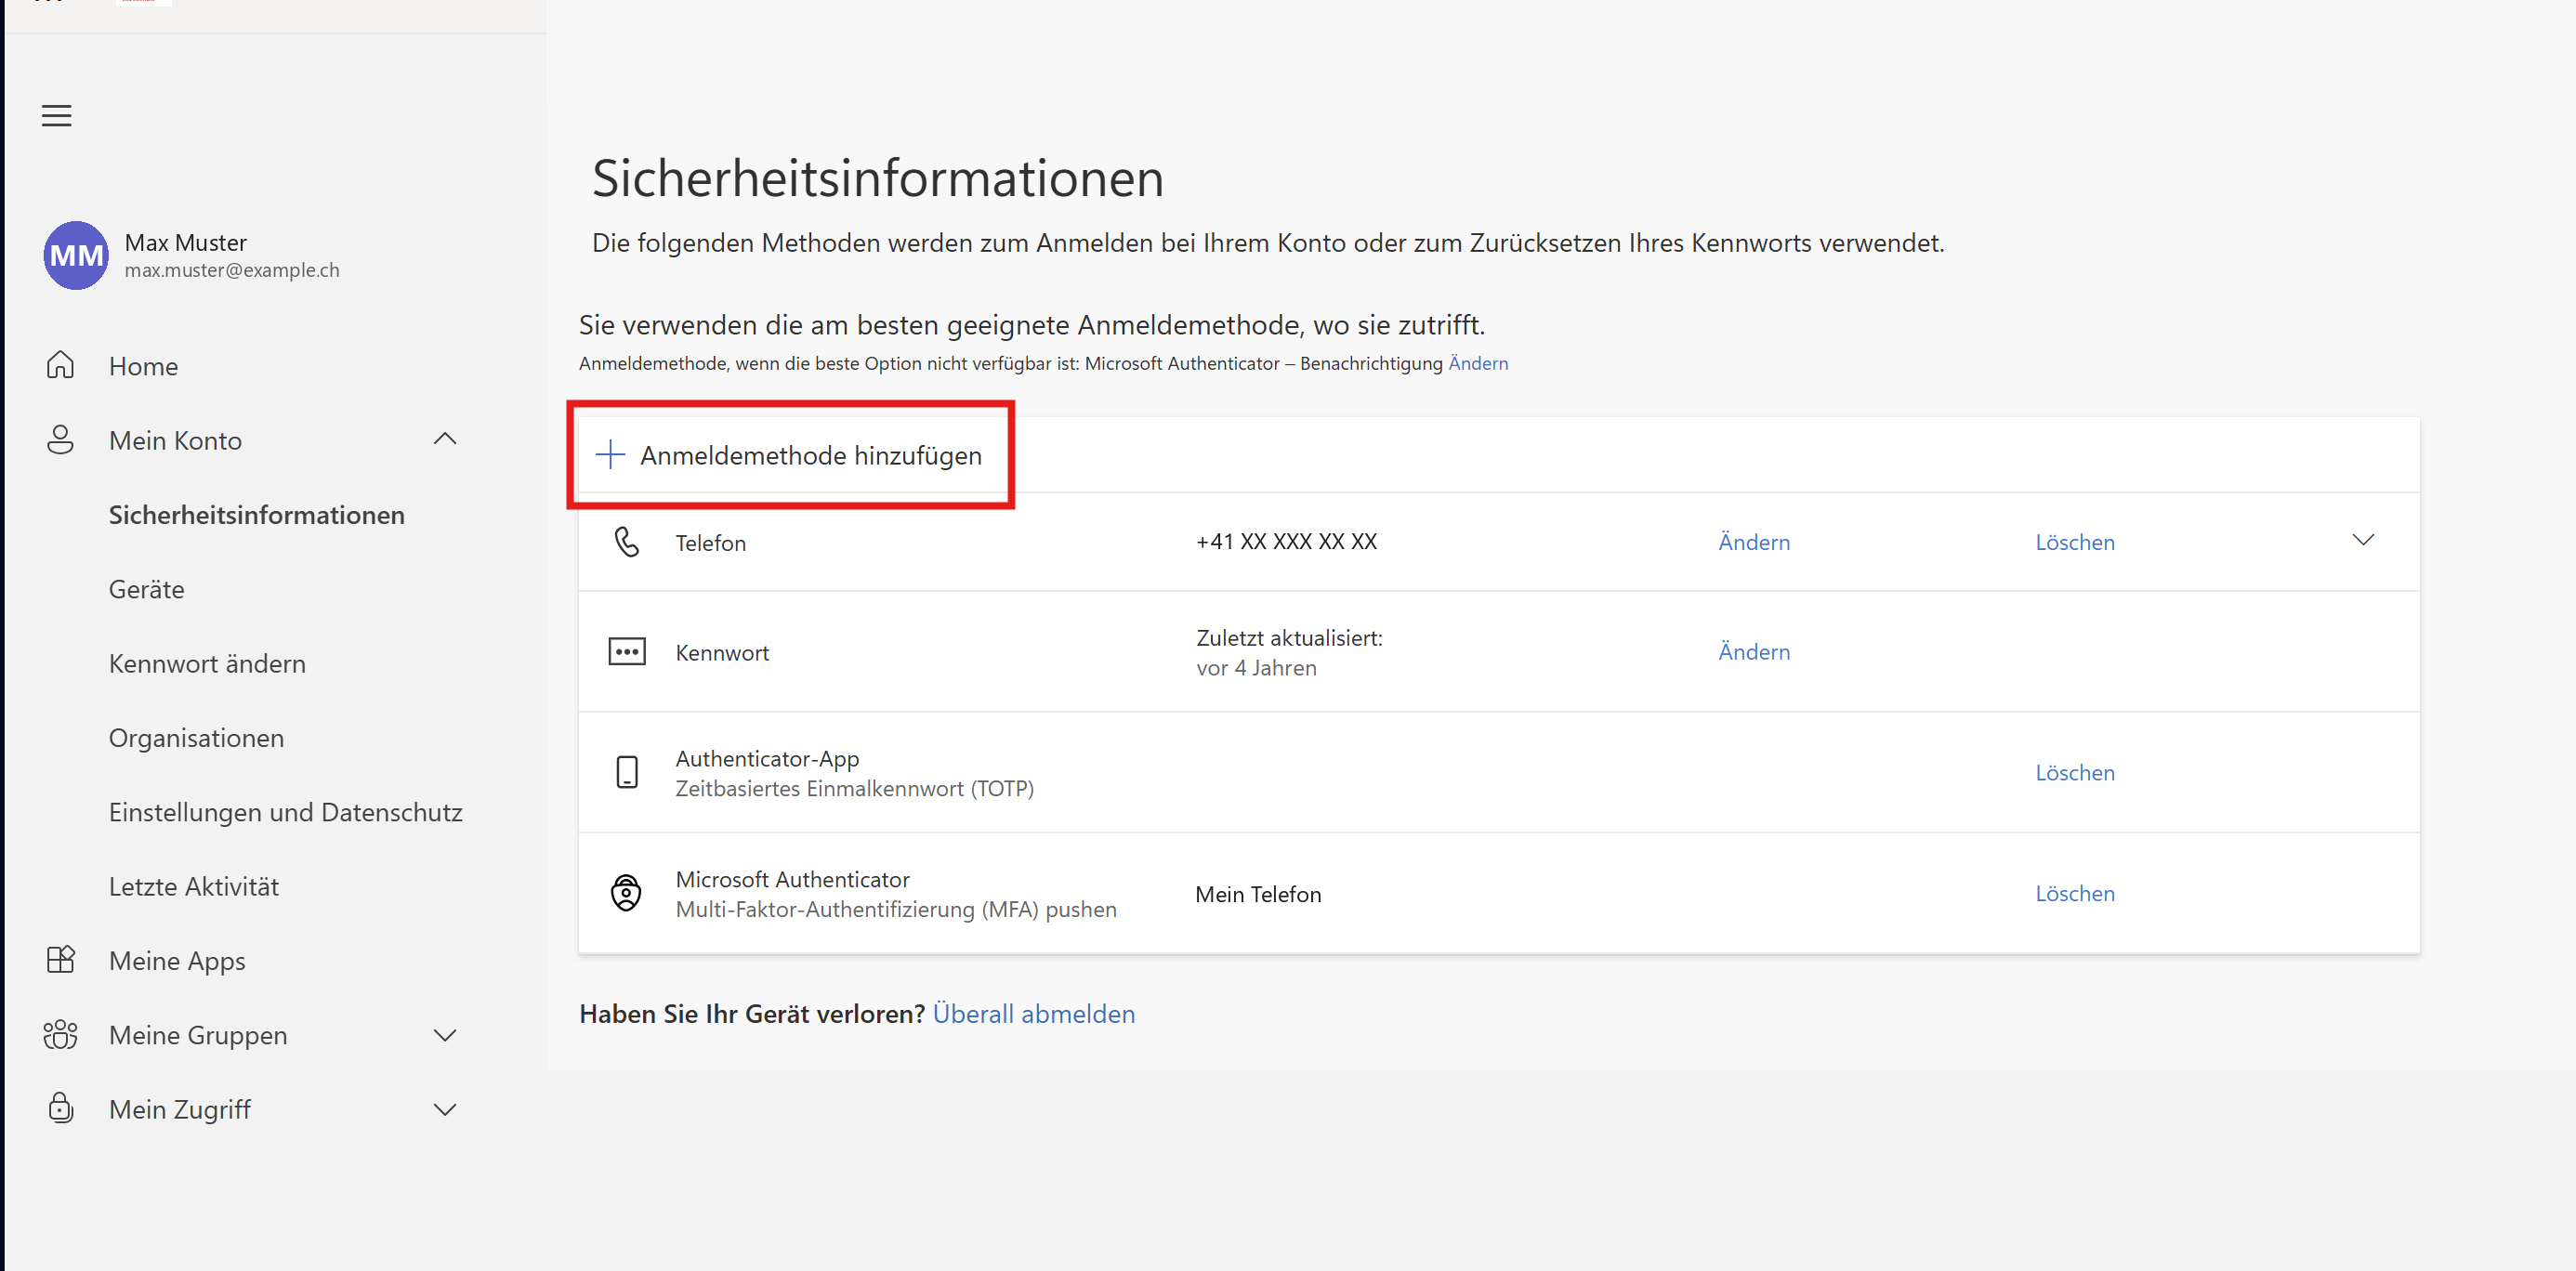
2. Add a sign-in method
Choose Anmeldemethode hinzufügen ("Add sign-in method").
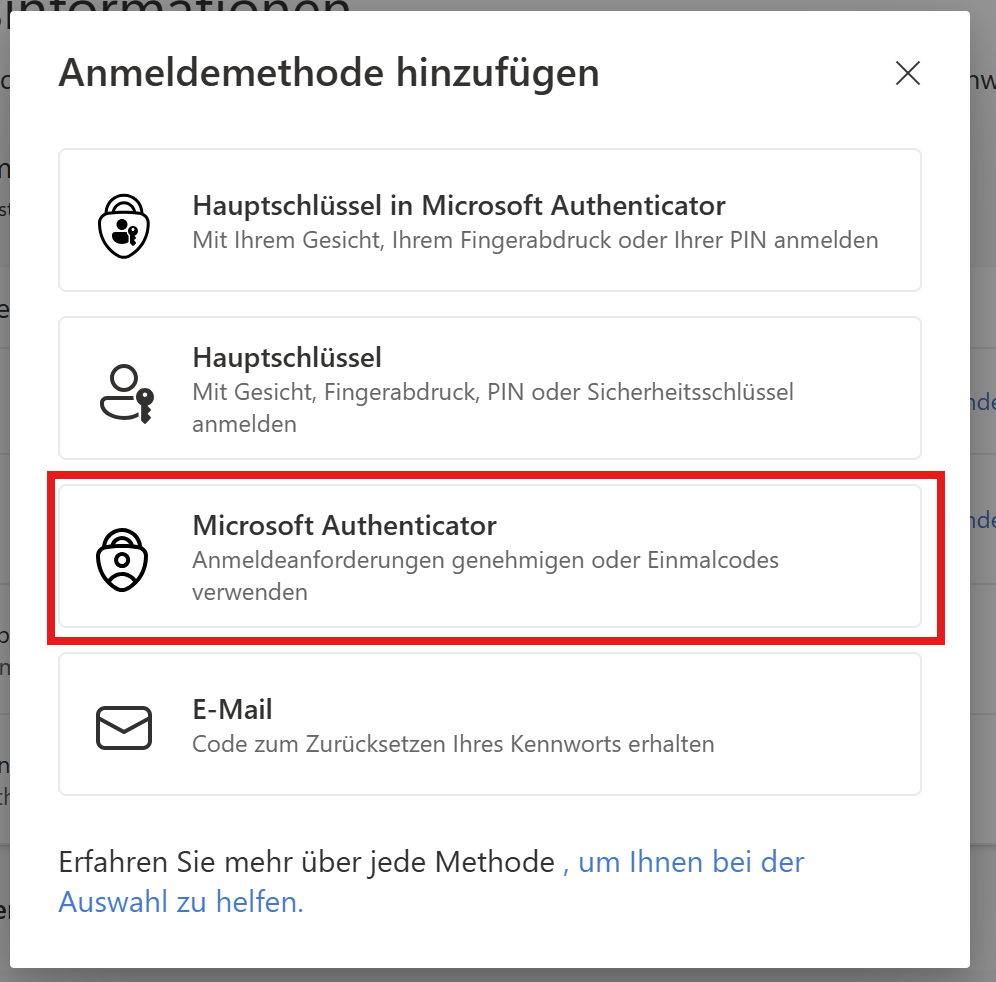
Pick Microsoft Authenticator from the list.
3. Tell it you use a different app
Microsoft assumes you want its own app. You don't - Schuly is the authenticator here. Choose Andere App für die Authentifizierung einrichten ("Use a different authenticator app" / "I want to use a different authenticator app").
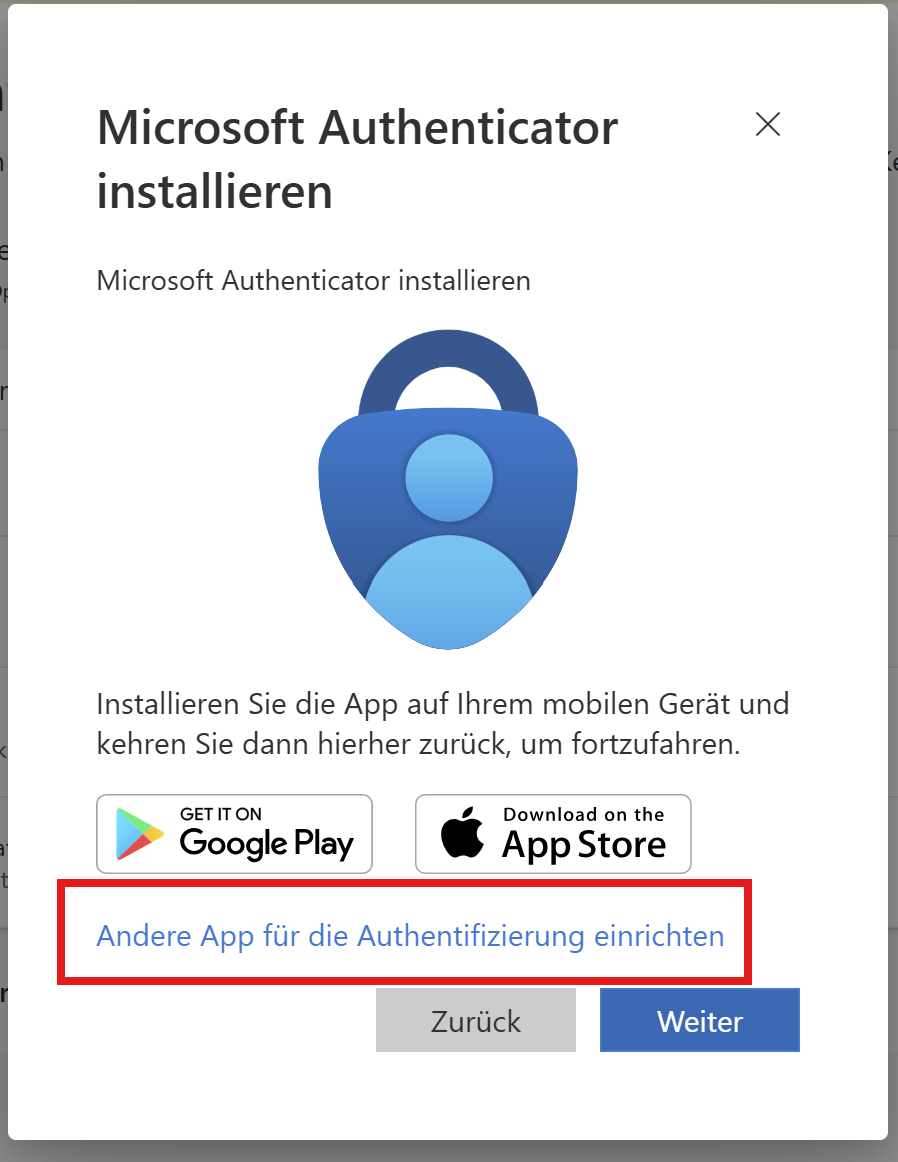
Then continue with Weiter ("Next").
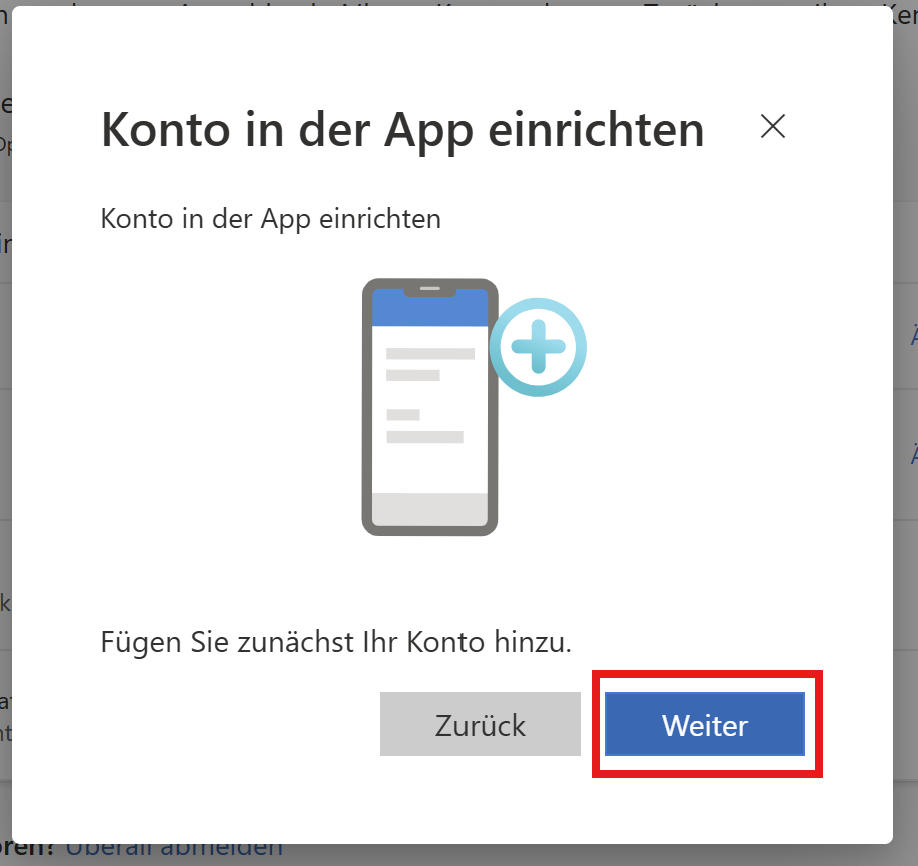
4. Scan the code with Schuly
Microsoft now shows the QR code.
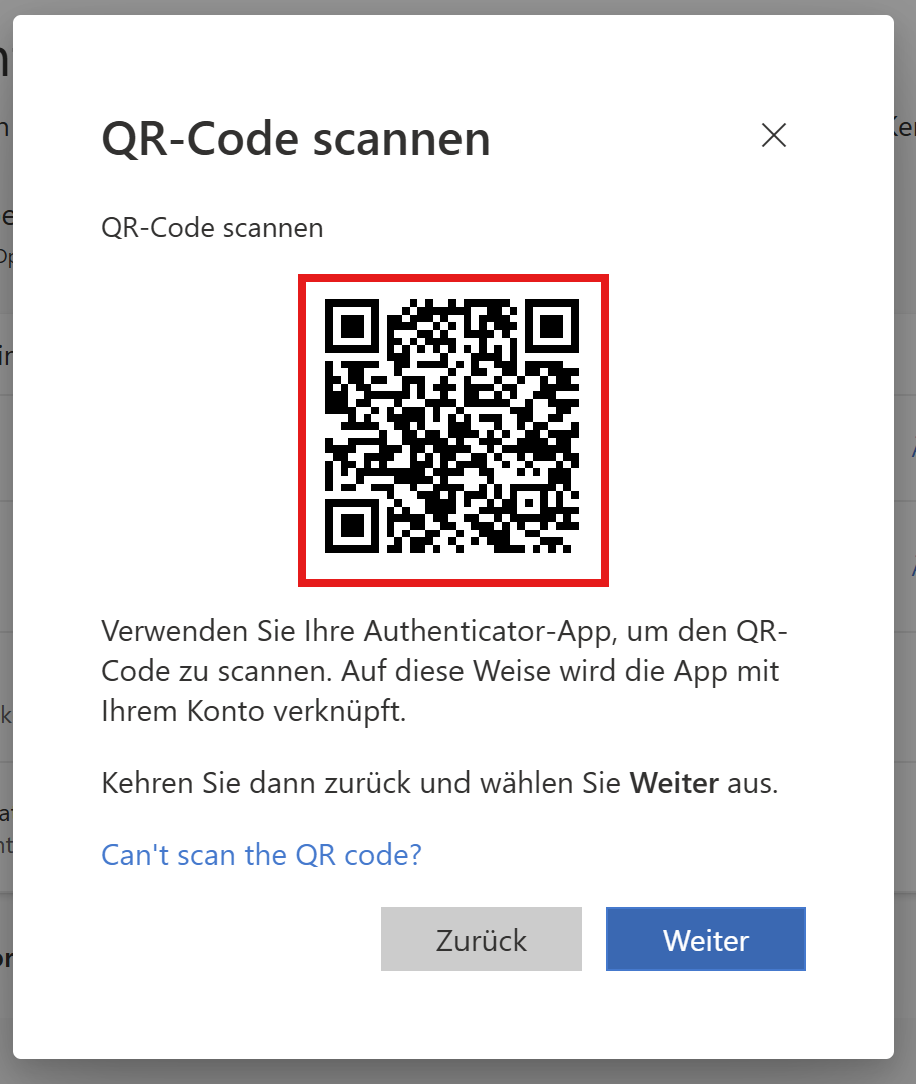
On your phone, in Schuly:
- Tap your avatar in the top left, then Authenticator.
- Tap Add, then Scan QR code.
- Point the camera at the code on your other screen.
Schuly saves the entry and shows its six-digit code immediately, with the seconds remaining beside it.
The code is needed right away
Microsoft asks for a current code to confirm the new device. That is the code Schuly is showing you - type it in before the countdown runs out. If it expires, the next one works just as well; the entry is already saved.
Back on the computer, choose Weiter ("Next"), enter the code, and confirm. Authenticator-App ("Authenticator app") now appears in your list of sign-in methods.
Afterwards
Your codes live under Authenticator in Schuly. Tap one to copy it.
The secret stays on your phone. It is not sent to the Schuly backend and is not part of any sync, which also means it is not restored automatically if you lose the device - so keep the recovery options your school offers, and set up a second method such as a phone number where you can.
If it goes wrong
The camera does not open. Schuly needs camera permission. Grant it in your phone's app settings and try again.
The QR code will not scan. Use the setup key instead: choose Can't scan the QR code? on the Microsoft page, then in Schuly use enter manually and paste the key.
The code is rejected. Codes are tied to the clock. If your phone's time is set manually and drifts, the codes are wrong even though the app looks fine - switch the phone to network-provided time.